The Nano Banana Pro Off-Centre shot is the ultimate fix for boring AI art. Let’s face it: dead-centered photos look stiff and basic. When you let the AI put everything right in the middle, you lose all the excitement, drama, and curiosity that makes an image feel alive. The trick is to move your subject to the side. By deliberately placing them away from the center, you create an unbalanced look that instantly grabs attention. This simple change turns basic character shots into breathtaking, movie-like masterpieces.
What’s inside this guide:
- Using the Right Keywords for Off-Center Shots: The best keywords to use for off-center shots.
- Why Extending Your Prompts Create Better Composition: How details stop AI from default centering.
- FAQ: How to Fix Off-Center Mistakes: Quick fixes for stubborn centering habits.
- Storytelling and Camera Movement Tips: When to use this shot and video motion tricks.
- Explore More Nano Banana Pro Camera Angles: Links to more camera angle guides.
1. Using the Right Keywords for Off-Center Shots
Think of your prompt words as a guide that places your camera exactly where you want it. To make your image, you can either use the keyword by itself or write a longer prompt that describes the full scene around your subject.
Basic Prompt with only keyword
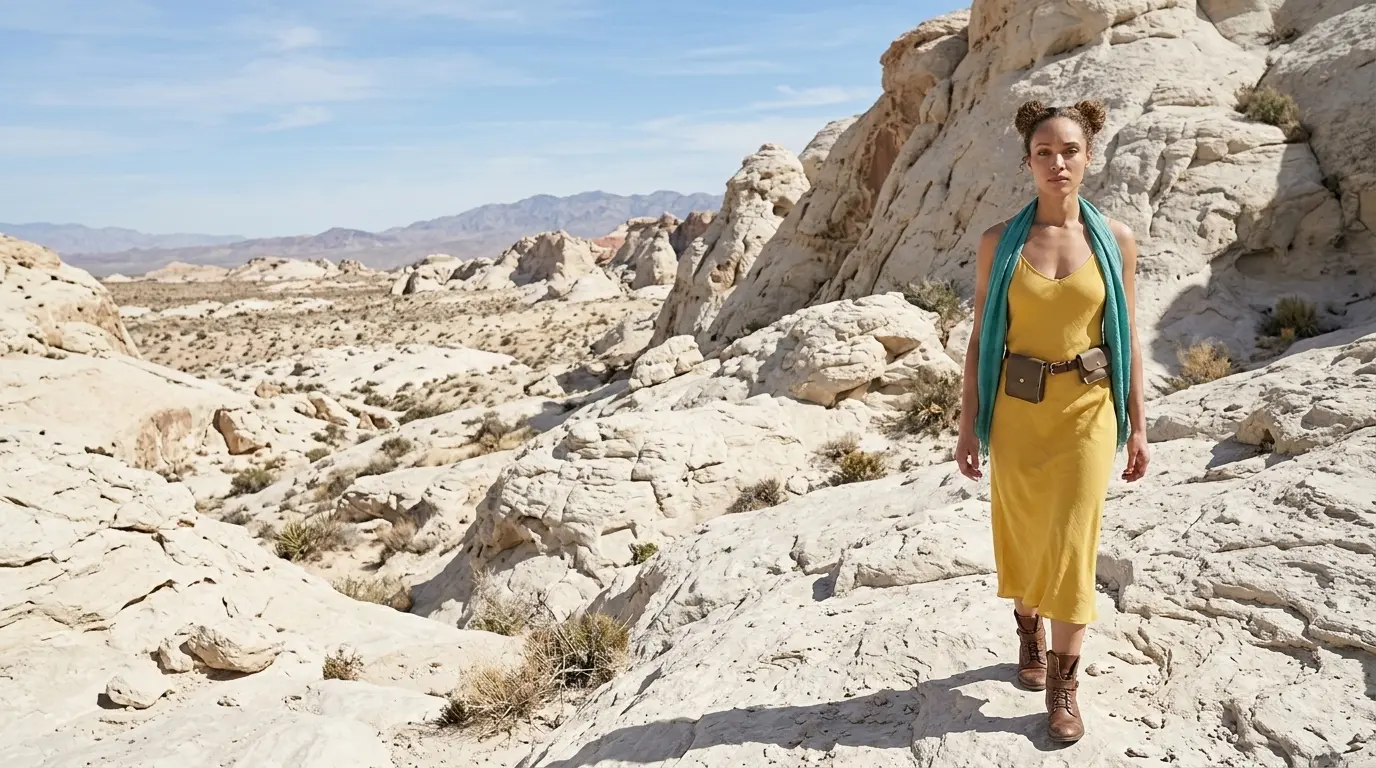
Off-center shot of this woman in a white rocky desert
Extended Prompt
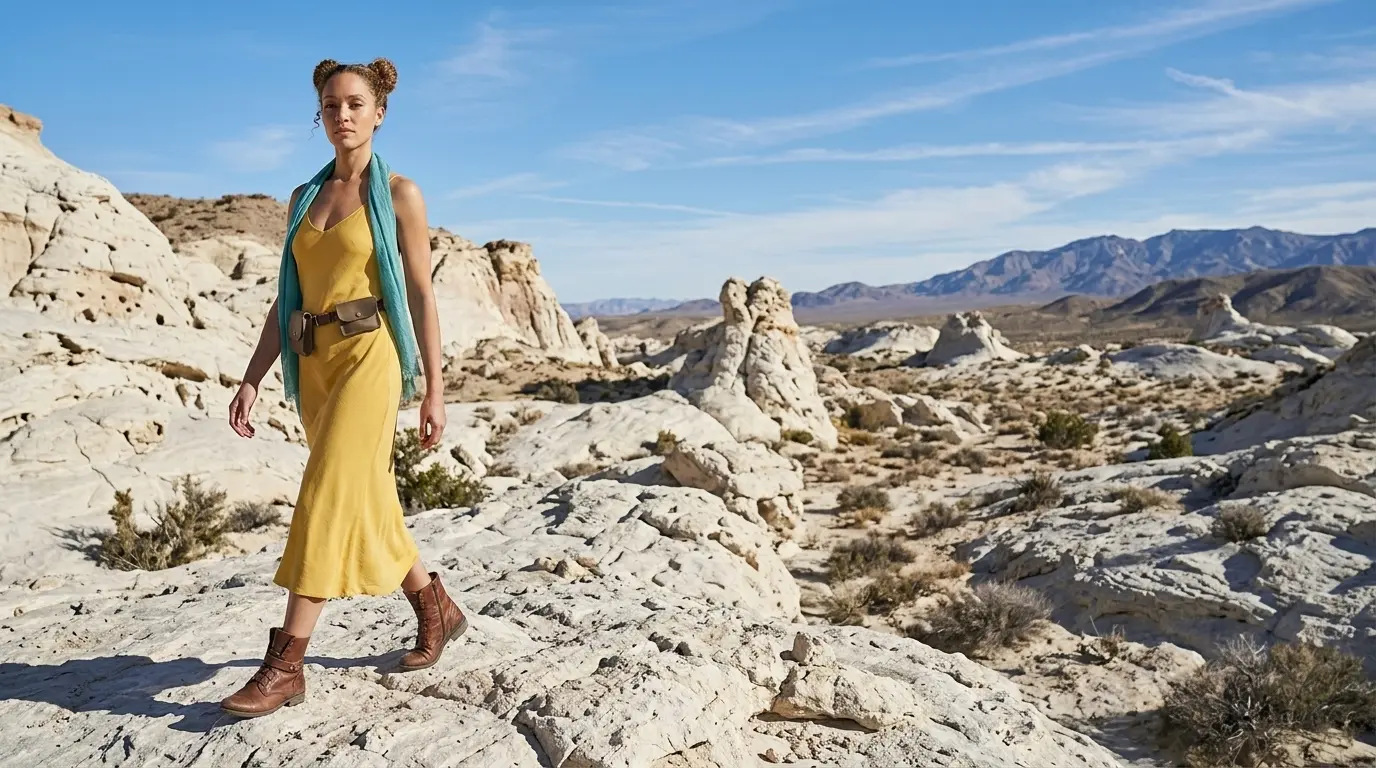
The woman is positioned on the left vertical third in a white rocky desert
In this example, Nano Banana Pro already understands the off-center keyword quite well. But this is not always the case with every camera angle, scene, or AI image model. That is why we also show additional keywords and extended prompt options, so you have more control when the basic keyword is not enough.
Additional Keywords to extend your prompt
positioned on the left vertical third
on the left third intersection of the frame
on the right side
on the left third intersection of the frame
on the right side
💡
Pro Tip: While Nano Banana reads your entire prompt for context, placing camera keywords early prevents them from getting diluted by long description details later in your text!
2. Why Extending Your Prompts Create Better Composition
Both of these prompts tell the AI where to put the camera, but using only one keyword leaves too much up to guesswork. To get the exact look you want, describe the space around your character to lock the camera in place:
- The Only-Keyword Prompt: Writing just “Off-center shot” creates a clean image, but you let the AI decide everything else for you.
- The Extended Prompt: Adding specific details like “subject placed on the right side of the frame, negative space filled with foggy sky” forces the AI to shift the camera over. This locks in your composition and reveals the wider landscape.
Additional Keywords
Why It Works
positioned on the left vertical third
Anchors the character on a grid line to stop center framing.
on the left intersection of the frame
Pinpoints a specific grid corner to lock the character in place.
on the right side
Pushes the subject completely away from the center of the frame.
3. FAQ: How to Fix Off-Center Mistakes
4. Storytelling and Camera Movement Tips
In visual storytelling, moving a subject to the side changes everything. Use this look to instantly add tension, curiosity, and a movie-like feel to your scenes.
When making video clips, add motion to bring the scene to life with these simple keywords:
- Off-center push-in: Moves the camera forward while keeping the subject to the side to increase tension.
- Off-center tilt down: Tilts the lens downward while keeping the subject off-axis to show the empty space around them.
- Off-center tracking shot: Follows the character from the side to capture their movement across the wide landscape.
5. Explore More Nano Banana Pro Camera Angles
Ready to master more cinematic camera perspectives? Explore our other quick prompting guides to elevate your AI generations!
Link to: Nano Banana Pro Point of View (POV) Shot: Solved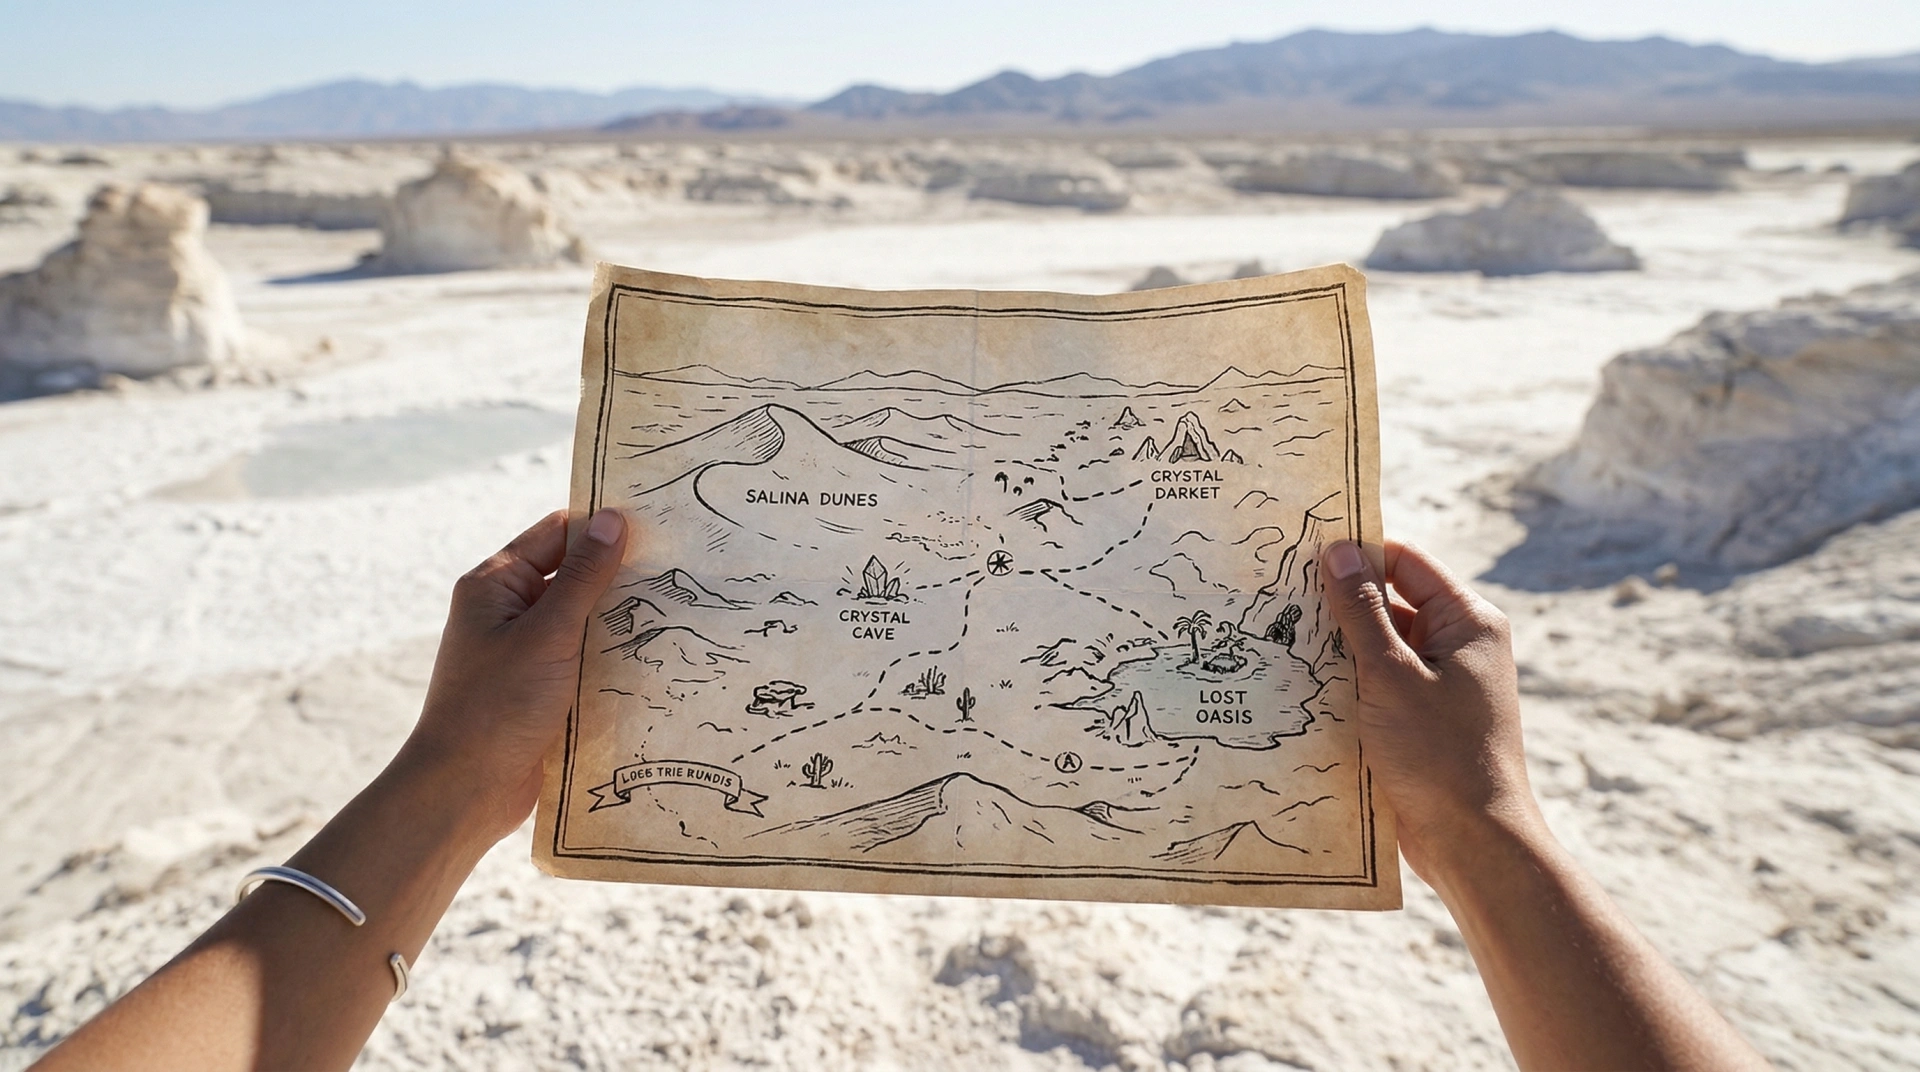
See Through Your Character’s Eyes Using POV Shots
Step directly into the character’s shoes. Use the point-of-view angle on Nano Banana Pro to put the audience right in the middle of the story.
Link to: Nano Banana Pro Over-the-Shoulder Shot: Film Conversations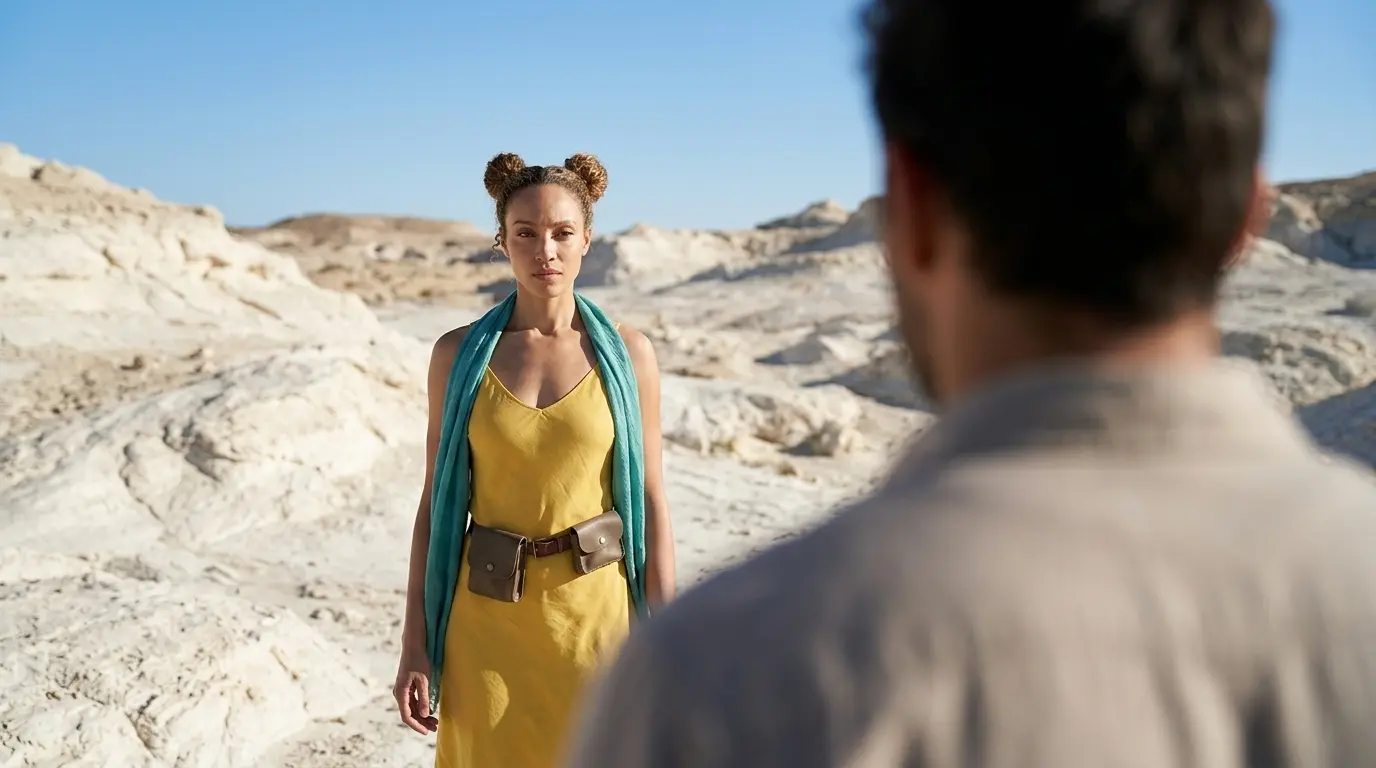
Capture Real Conversations with Over-the-Shoulder Shots
Sneak the lens right behind your character. Master this over-the-shoulder Nano Banana camera effect to instantly draw viewers deep into the scene’s dialogue.
Link to: Nano Banana Pro Camera Angles: The Ultimate Guide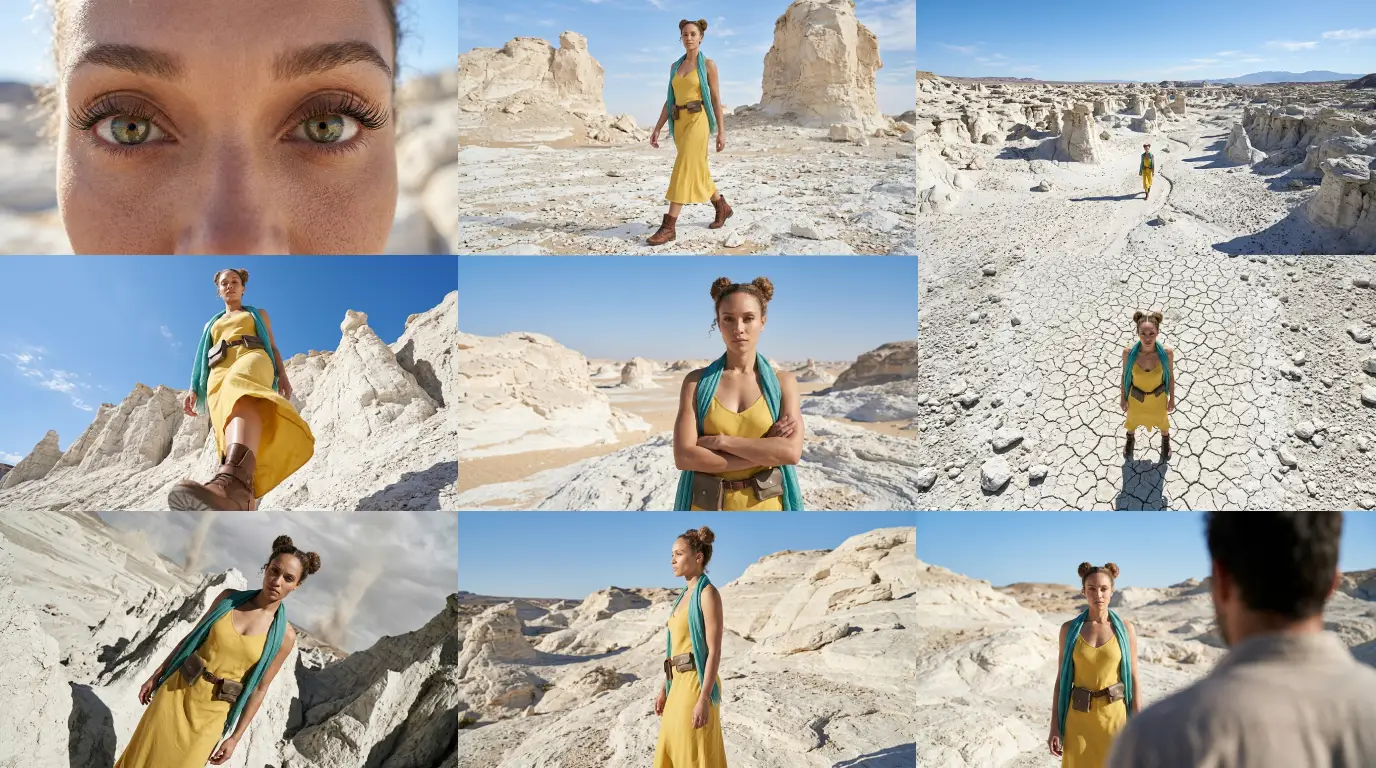
Complete Guide to Camera Angles
Jump back to our full list of Nano Banana Pro prompt tutorials and cinematic camera angles.