A Nano Banana Pro Point of View (POV) Shot is the ultimate fix if you are tired of your AI art looking like a bunch of boring, flat portraits. It is frustrating when every image looks exactly the same and fails to grab anyone’s attention. By putting the camera right behind your character’s eyes, this first-person framing solves that problem instantly. It stops showing a boring scene from the outside and starts making your viewers feel like they are actually living inside the moment.
What’s inside this guide:
- Using the Right Keywords for POV Shots: Best prompt keywords for first-person views.
- Why Extending Your Prompts Create Better POV Shots: How details stop AI perspective mistakes.
- FAQ: How to Fix POV Mistakes: Quick fixes for bad hand anatomy and framing errors.
- Storytelling and Camera Movement Tips: When to use this shot and video motion tricks.
- Explore More Nano Banana Pro Camera Angles: Links to more camera angle guides.
1. Using the Right Keywords for POV Shots
Think of your prompt words as a guide that places your camera exactly where you want it. To create a true first-person shot,using the keyword by itself might not be enough and you might have to write an extended prompt that locks the camera inside your character’s head.
Basic Prompt with only keyword
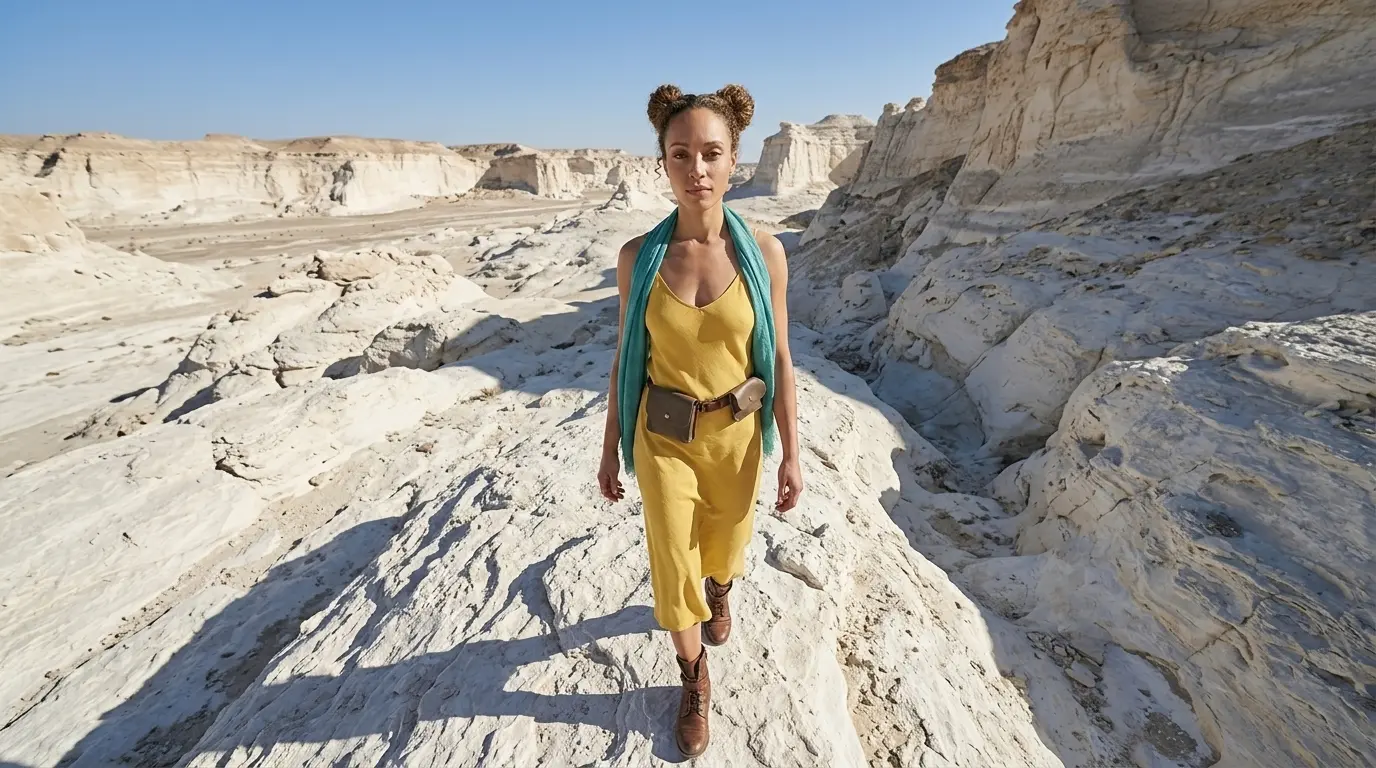
POV shot of this woman in a white rocky desert
Extended Prompt
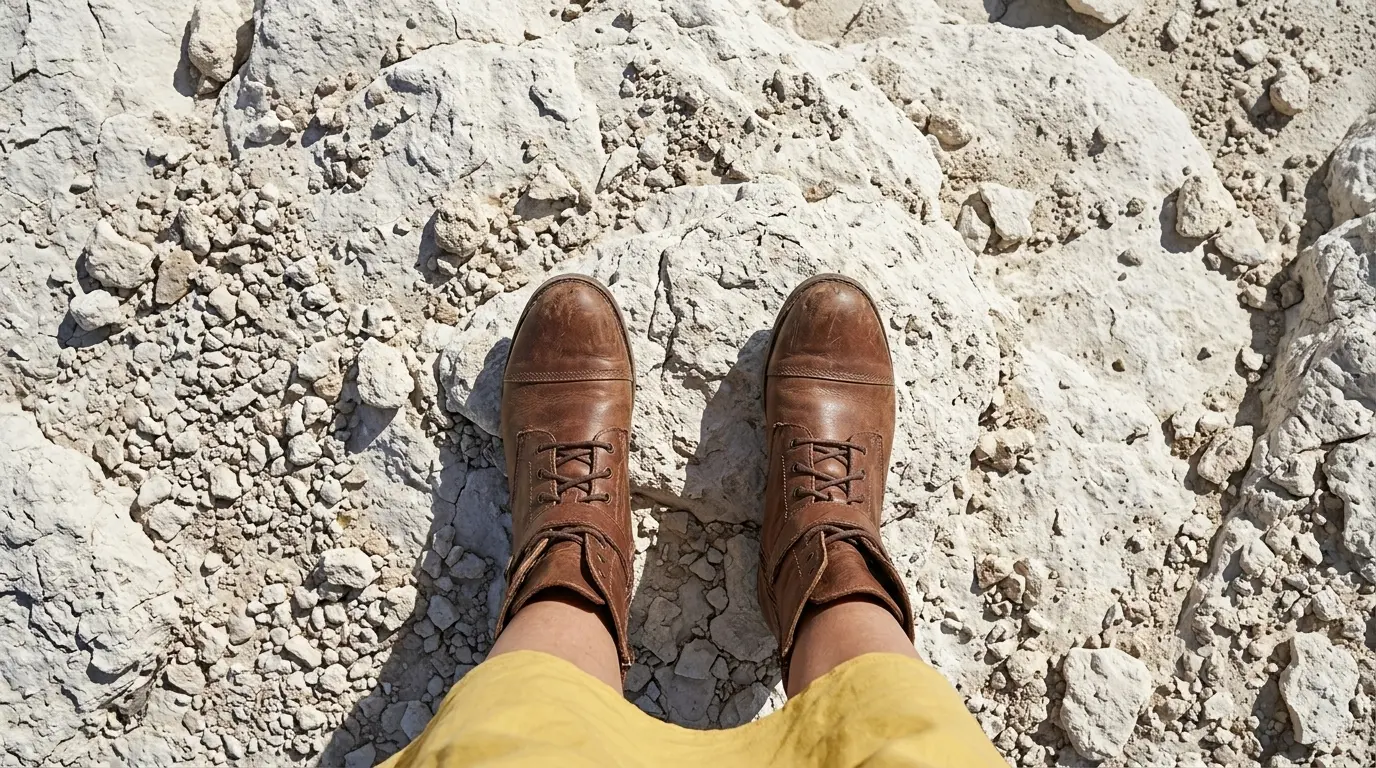
POV shot looking down at my own brown boots in a white rocky desert.
Using just the basic keyword can make the AI look at your character from the outside. To fix this, your prompt must trick the AI into becoming the character or you. These extra keywords and extended prompts force the AI to see through your eyes when you use the word “my” in the prompt, giving you perfect first-person control when the main keyword fails.
Additional Keywords to extend your prompt
as if seen from the subject’s own eyes
holding a map
looking down at my own brown boots
with my own arms surrounding the periphery of the frame
holding a map
looking down at my own brown boots
with my own arms surrounding the periphery of the frame
💡
Pro Tip: While Nano Banana reads your entire prompt for context, placing camera keywords early prevents them from getting diluted by long description details later in your text!
2. Why Extending Your Prompts Create Better POV Shots
Both of these styles tell the AI where to put the camera, but using only one keyword leaves too much up to guesswork. To get the exact first-person look you want, you must embody the character as yourself to lock the camera inside their head:
-
The Only-Keyword Prompt: Writing just “POV shot” usually makes the AI look at your character from the outside. You let the AI guess the perspective, which breaks the first-person illusion.
-
The Extended Prompt: Adding specific details like “looking down at my own boots” or “with my own arms surrounding the periphery” tricks the AI into becoming the character. This forces the camera to see through “your” eyes and locks in a perfect first-person view.
Additional Keywords
Why It Works
as if seen from the subject’s own eyes
Replaces the regular camera view to force a true first-person perspective.
holding a map
Forces the AI to put hands in the foreground and creates instant depth.
looking down at my own brown boots
Turns input characters into “you” for an instant first-person view.
with my own arms surrounding the periphery of the frame
Wraps input limbs around edges to secure an absolute first-person view.
3. FAQ: How to Fix POV Mistakes
4. Storytelling and Camera Movement Tips for POV Shots in Nano Banana Pro
Looking through a character’s own eyes makes a scene feel deeply immersive and personal. Use these precise camera movement keywords to bring your first-person videos to life:
- Subtle POV push-in: Moves the camera slightly forward from the eyes to increase focus on what the character sees.
- POV tilt down: Moves the lens downward to reveal the character’s hands or boots, grounding the viewer in their body.
- Cinematic first-person tracking: Moves forward or sideways through the environment exactly as the character navigates it.
5. Explore More Nano Banana Pro Camera Angles
Ready to master more cinematic camera perspectives? Explore our other quick prompting guides to elevate your AI generations!
Link to: Nano Banana Pro Side Profile Shot: Master Cinematic Views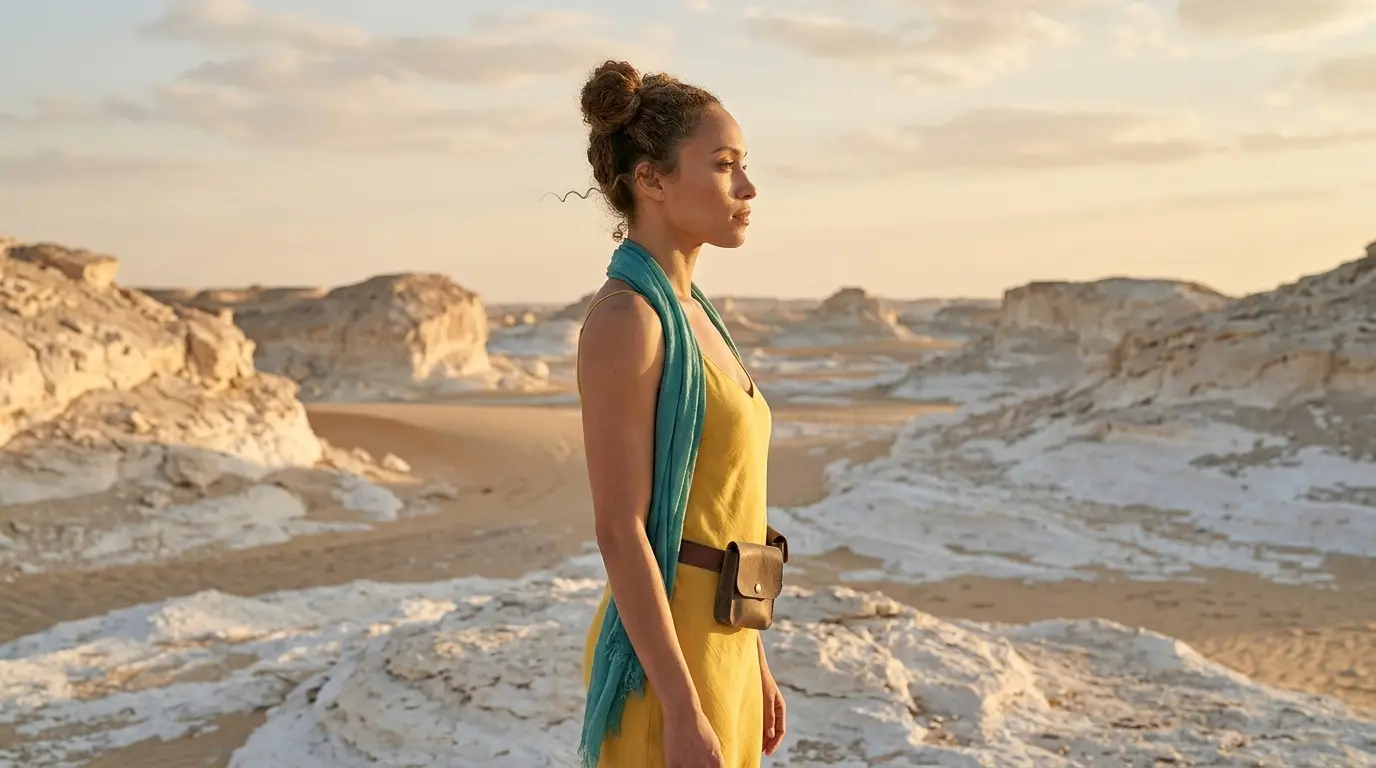
Turn Your Character Into a Side Profile Shot
Stop always shooting your characters straight. Force the Nano Banana camera to change camera angle to a side profile shot to instantly highlight dramatic facial structures.
Link to: Nano Banana Pro Off-Centre Shot: Master Dynamic Framing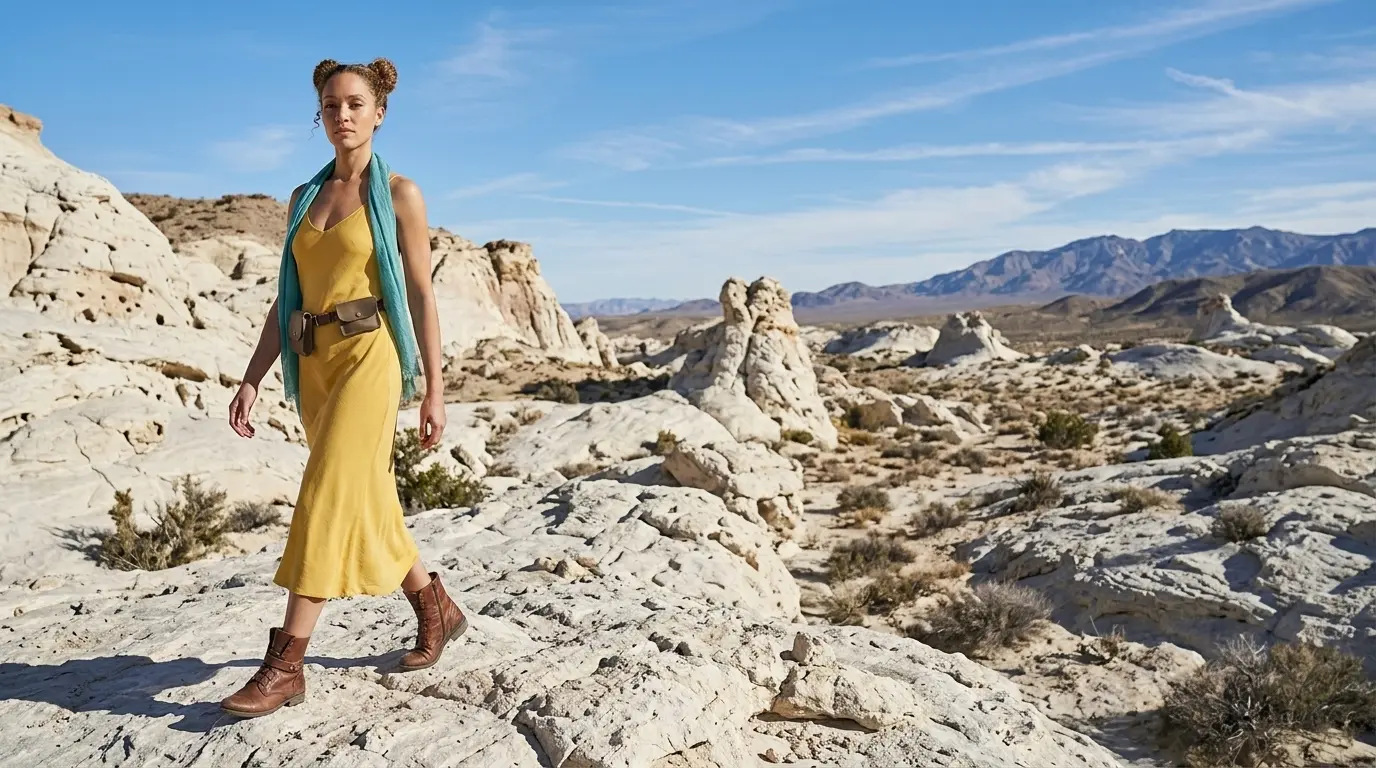
Balance Your Framing with Off-Center Shots
Push your subject away from the dead center. Use the rule of thirds on Nano Banana Pro to give your background and character room to breathe.
Link to: Nano Banana Pro Camera Angles: The Ultimate Guide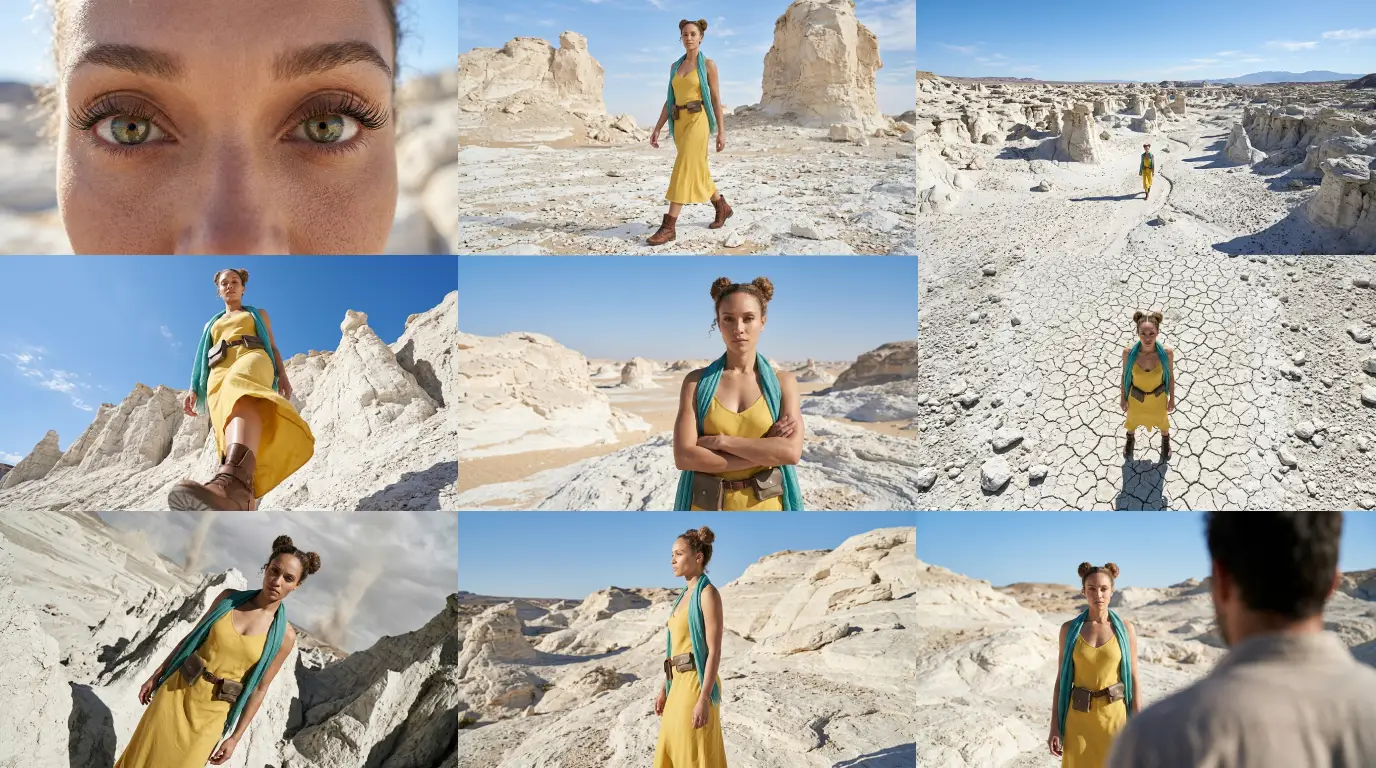
Complete Guide to Camera Angles
Jump back to our full list of Nano Banana Pro prompt tutorials and cinematic camera angles.