The Nano Banana Pro Bird’s Eye View instantly shatters ordinary portrait limits by locking your camera straight overhead. This cinematic angle transforms your composition into a striking, map-like graphic layout. It turns your characters into compelling visual anchors balanced against a massive, sprawling environment.
What’s inside this guide:
- Using the Right Keywords for Bird’s Eye View Shots: The best keywords to use for extreme angles.
- Why Extending Your Prompts Create Better Camera Angles: How details stop AI mistakes.
- FAQ: How to Fix Bird’s Eye View Mistakes: Quick fixes for unwanted close-ups and eye-level shots.
- Storytelling and Camera Movement Tips: When to use this shot and video motion tricks.
- Explore More Nano Banana Pro Camera Angles: Links to more camera angle guides.
1. Using the Right Keywords for Bird’s Eye View Shots
Think of your prompt words as a guide that places your camera exactly where you want it. To create your image, you can either use the keyword by itself or write an extended prompt that describes the full scene.
Basic Prompt with only keyword
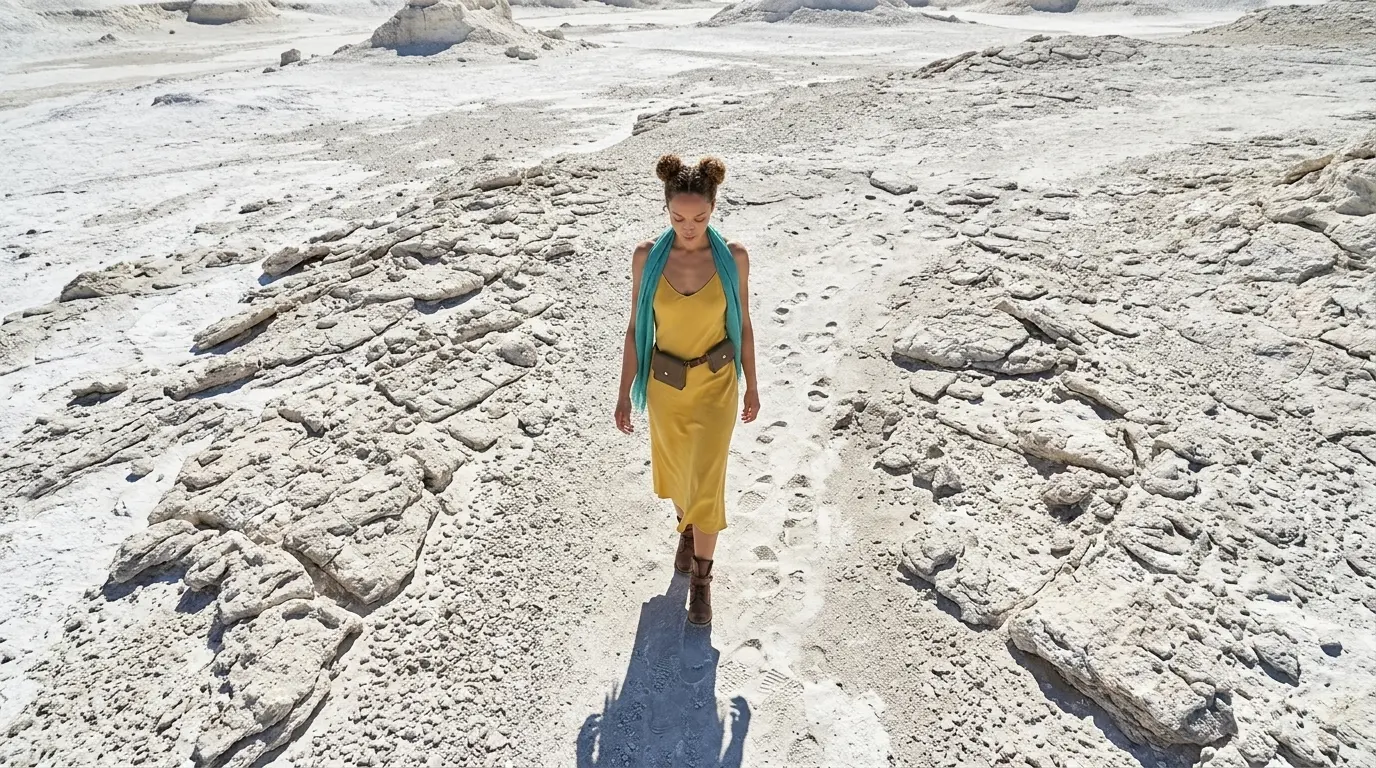
Bird’s eye view of this woman in a white rocky desert
Extended Prompt
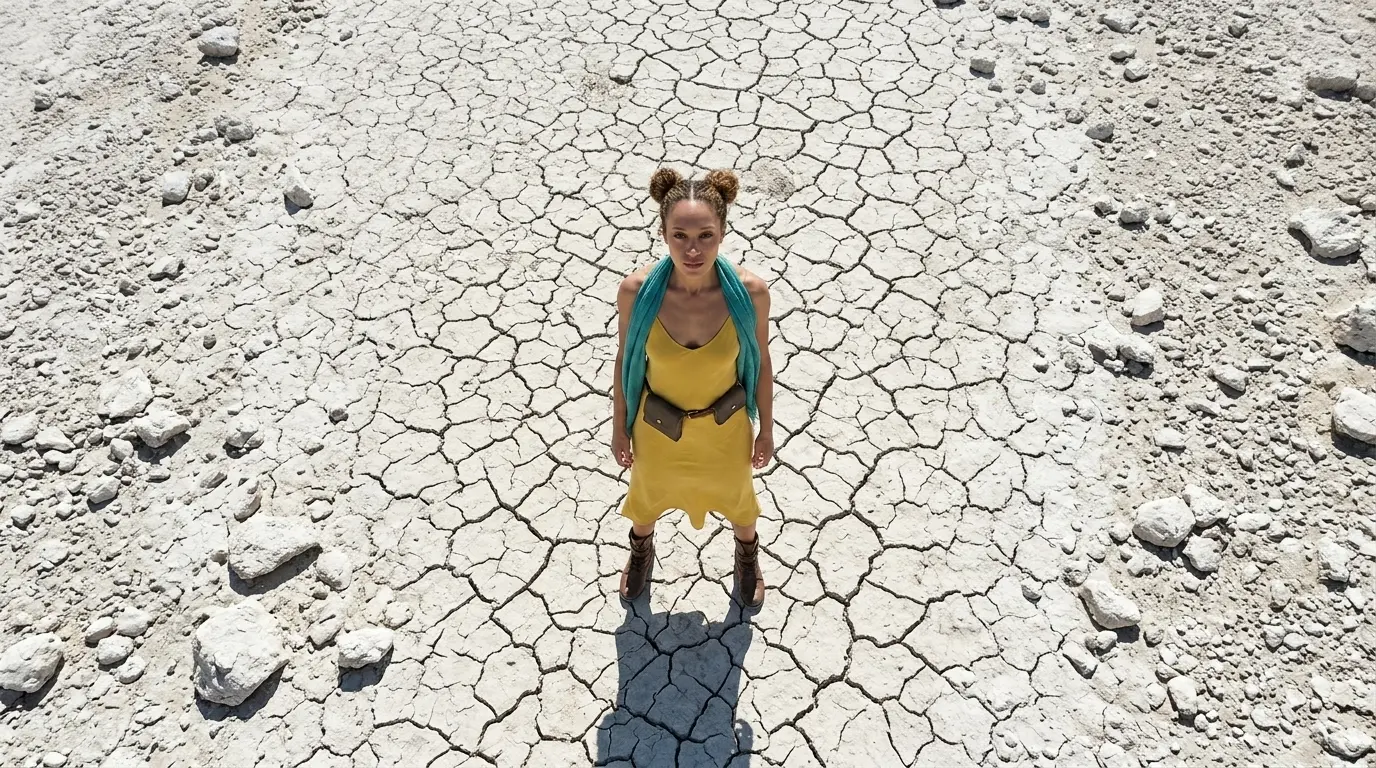
Bird’s eye view of this woman standing on a cracked floor in a white rocky desert
In this example, Nano Banana Pro already understands the bird’s eye view keyword quite well. But this is not always the case with every camera angle, scene, or AI image model. That is why we also show additional keywords and extended prompt options, so you have more control when the basic keyword is not enough.
Additional Keywords to extend your prompt
directly overhead looking straight down
top down view
showing their shadow on the ground
standing on a cracked floor
top down view
showing their shadow on the ground
standing on a cracked floor
💡
Pro Tip: While Nano Banana reads your entire prompt for context, placing camera keywords early prevents them from getting diluted by long description details later in your text!
2. Why Extending Your Prompts Creates Better Camera Angles
Both of these styles tell the AI where to put the camera, but using only one keyword leaves too much up to guesswork. To get the exact look you want, describe the space around your character to lock the camera in place:
-
The Only-Keyword Prompt: Writing just “Bird’s eye view” creates a clean image, but you let the AI decide everything else for you.
-
The Extended Prompt: Adding specific details like “directly overhead looking straight down” forces the AI to lock the lens vertically. This locks in your perspective and reveals the ground and wider landscape.
Additional Keywords
Why It Works
directly overhead looking straight down
Forces a strict, 90-degree vertical camera drop.
top down view
Flattens the image into a clean, map-like layout.
showing their shadow on the ground
Helps the AI model accurately calculate depth and height.
with feet on the desert ground
Pulls the virtual camera much further into the sky.
standing on a cracked floor
Locks the camera focus strictly on the surface below.
3. FAQ: How to Fix Bird’s Eye View Mistakes
4. Storytelling and Camera Movement Tips
A bird’s eye view shot captures your subject from the sky down, creating a sense of layout and scale as the audience looks directly into an expansive, map-like perspective. When generating video, use these motion keywords to maximize your camera control:
- Overhead tilt down: Tilts the lens smoothly downward from the sky, emphasizing the flat layout and the ground elements below.
- Bird’s eye pedestal up: Raises the physical camera level straight up into the air, pulling the horizon line completely out of view to dramatically expand the ground space.
- Forward overhead tracking: Keeps the camera locked high above while pushing deeper into the environment, emphasizing the sprawling size of the surroundings.
5. Explore More Nano Banana Pro Camera Angles
Ready to master more cinematic camera perspectives? Explore our other quick prompting guides to elevate your AI generations!
Link to: Nano Banana Pro High Angle Shot: Stop Getting Boring Eye-Level Images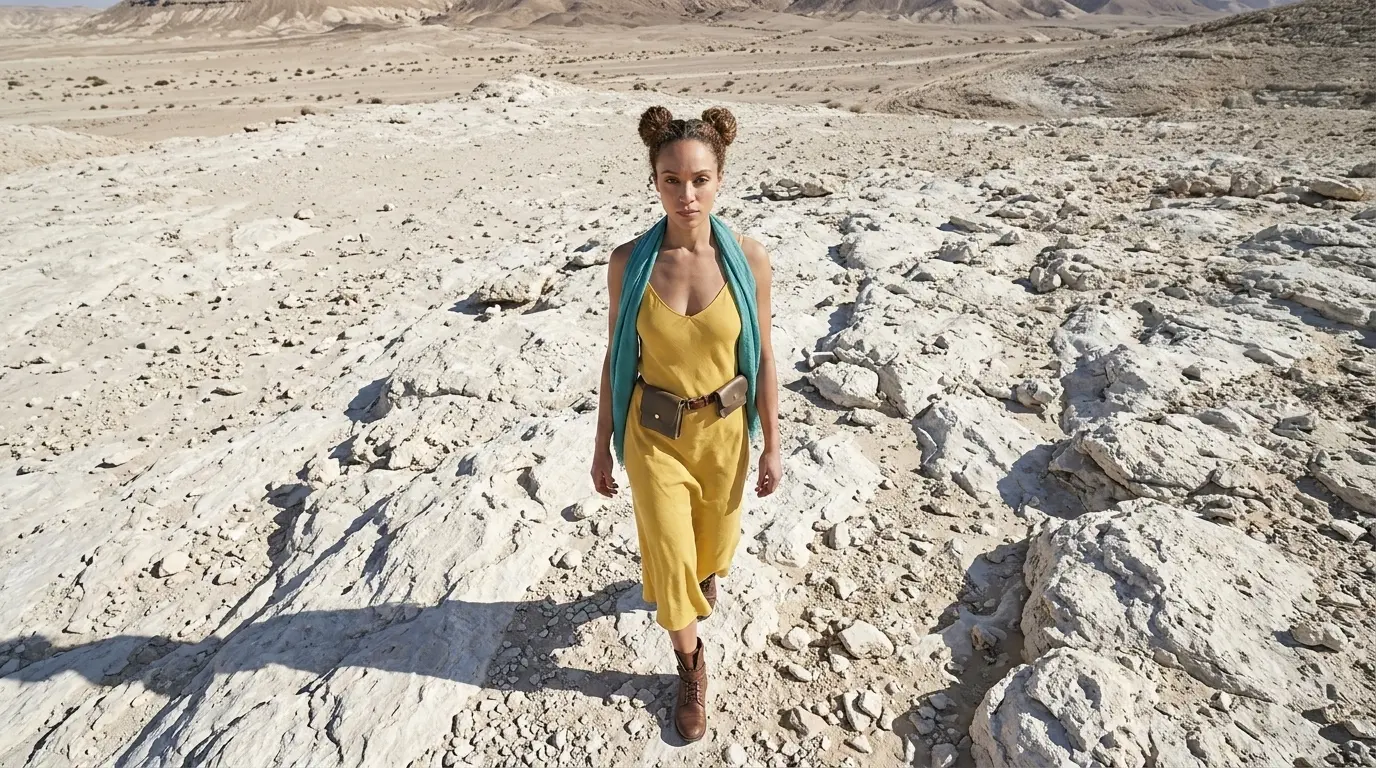
Control the Narrative with High Angle Shots
Completely change the emotional tone of your image. Learn how to change camera perspective to a downward angle to instantly make subjects feel vulnerable and weaker.
Link to: Nano Banana Pro Worm’s Eye View: Create Towering Scale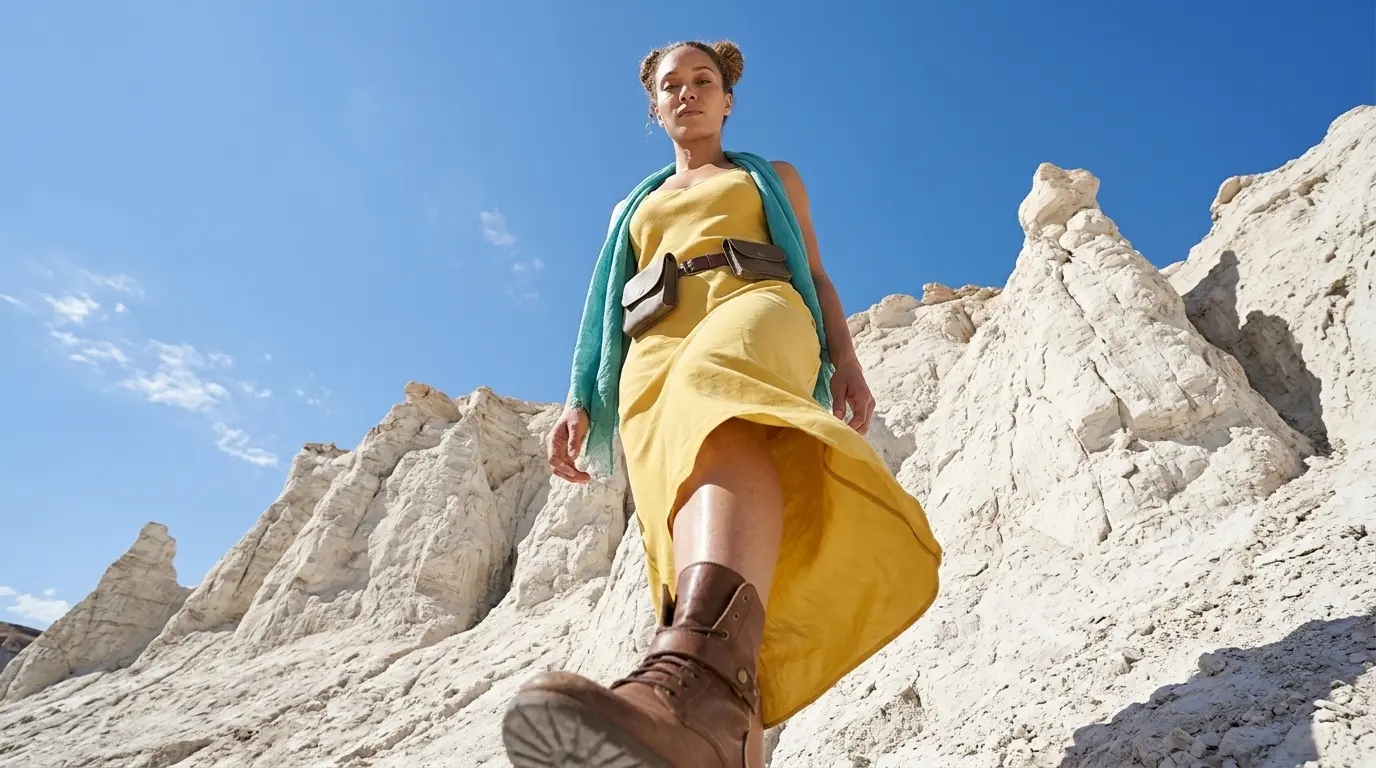
Master Extreme Low Perspectives with Worm’s Eye Views
Give your images an epic boss-fight perspective. Use the right nano banana camera angles to capture massive scale right from the floor.
Link to: Nano Banana Pro Camera Angles: The Ultimate Guide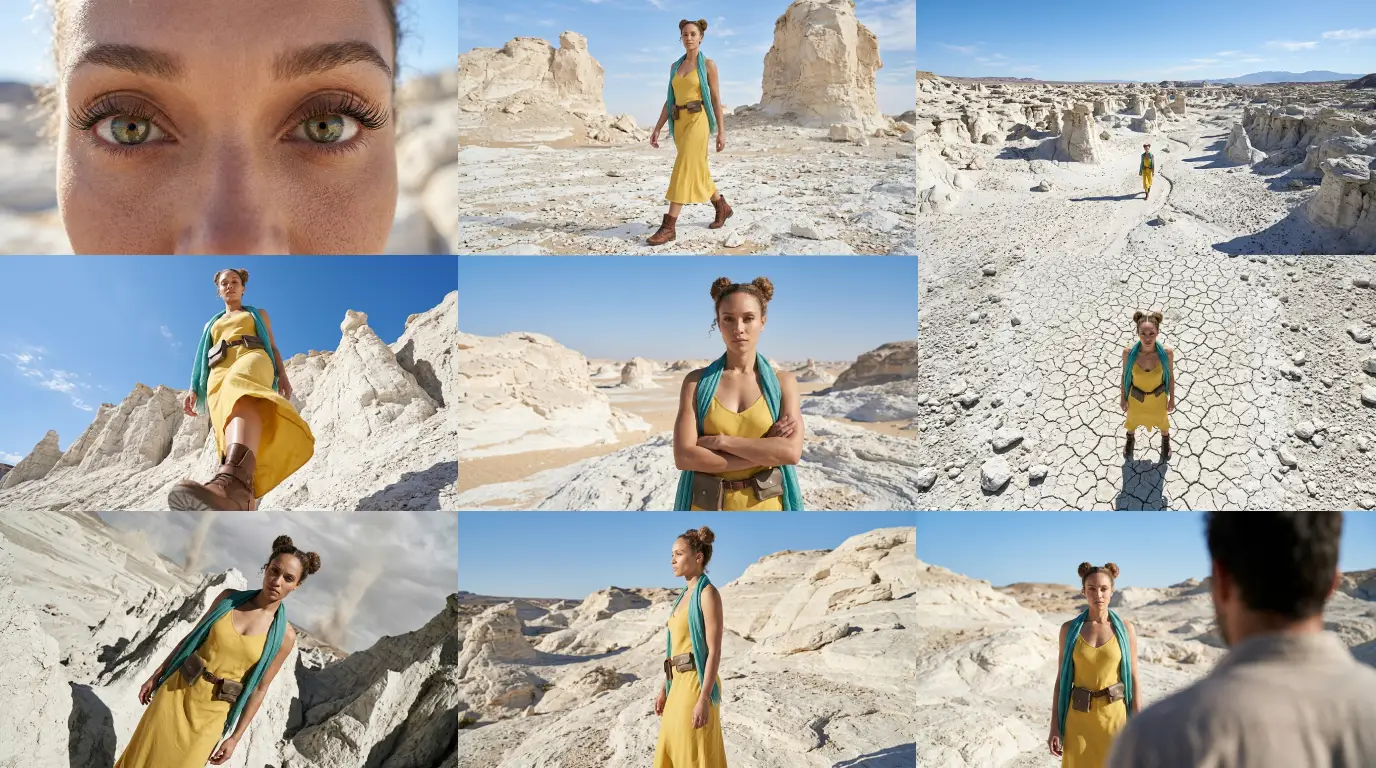
Complete Guide to Camera Angles
Jump back to our full list of Nano Banana Pro prompt tutorials and cinematic camera angles.